Each section added to an email can be targeted at a specific audience. For example, a restaurant chain could send an email campaign containing different offers for customers, based on their location.
To create dynamic content within sections, you can use dynamic content tags.
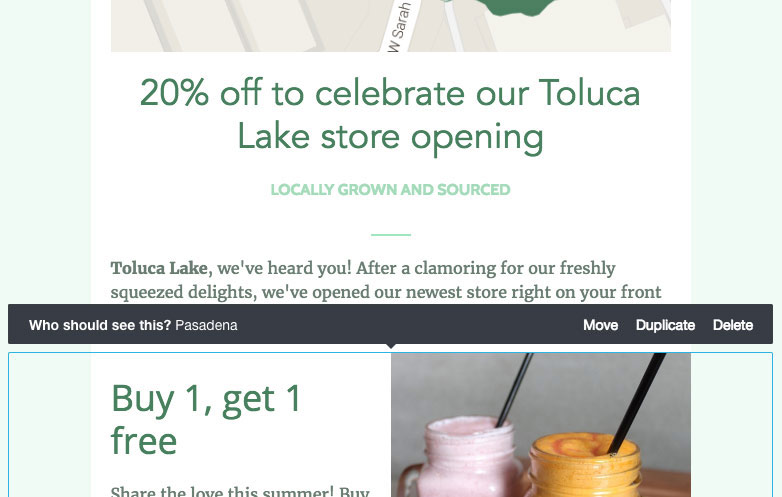
In the newsletter pictured below, content in the first section is specifically for customers near Toluca Lake, while content in the second section is for customers near Pasadena.
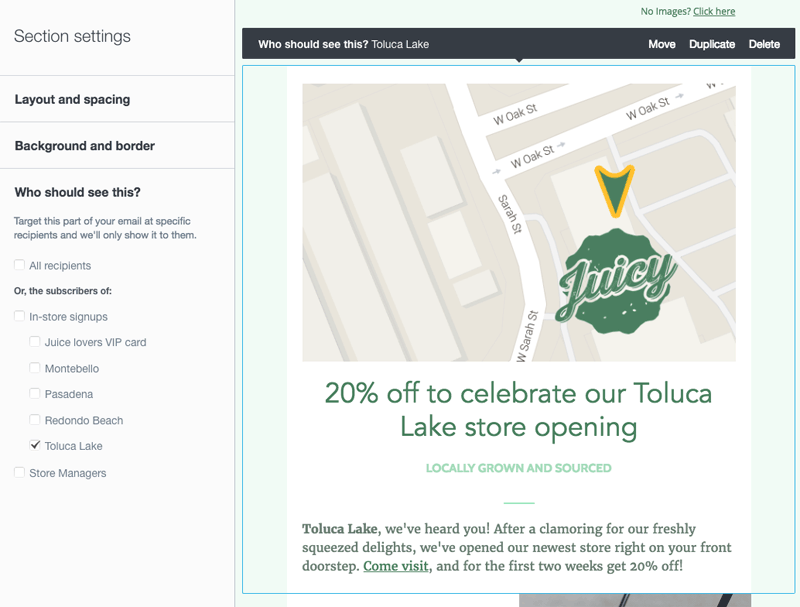
To match a section with its intended group of recipients, click to the side of the section to activate it. Then, in the left sidebar, click Who should see this to choose from your lists and segments.
The default setting for a section is "All recipients", which will be deselected as soon as you select one or more lists or segments.
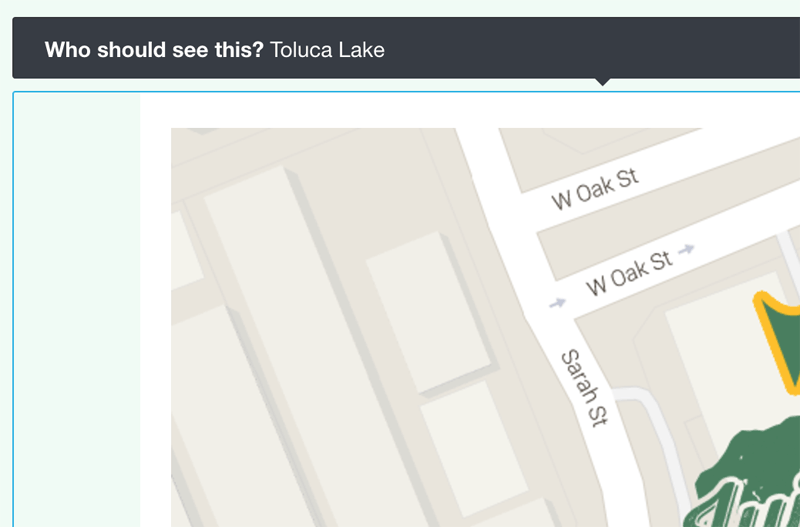
After you've selected your first list or segment, selecting a section will display who it's visible to in the section toolbar.
To use dynamic content in an email, you need to have more than one subscriber list, or a single list that has been segmented.
Create duplicate sections
To save time when formatting or writing similar content, you can duplicate a section. For example, a product description could end in a "Pre-order now" call-to-action in one section, versus "Save 25%" on a duplicate section visible only to VIP customers.
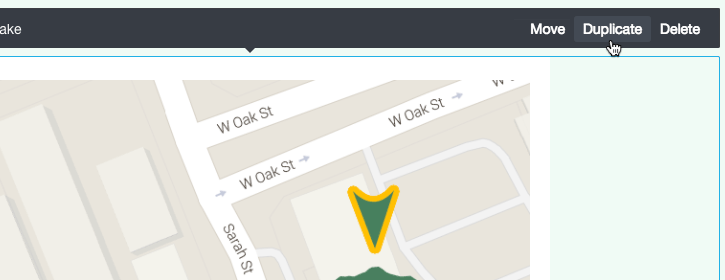
To duplicate a section, select it, then click Duplicate in the section toolbar.
Content for all recipients
The default setting for a section is "All recipients". Keep that setting applied for generic content, if there is any, so those sections will be visible to everyone the email is sent to.
Content previews
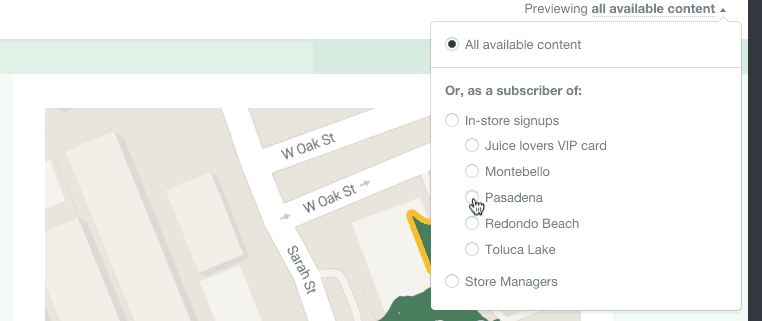
When you've finished creating your content, click Preview to see how your email will look on desktop clients and mobile devices. From this page you can use the "Previewing" menu, above the desktop preview of your email, to click through each version of the email and make sure it looks right for the intended recipients.
Confirm recipients
If you're setting up a journey email, that's all you'll need to do to get dynamic content working, as you'll have already selected a subscriber list when you created your journey.
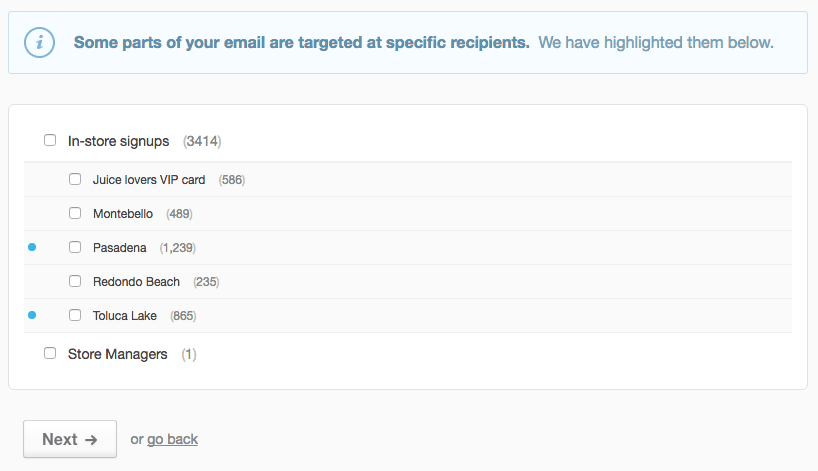
However if you're setting up a campaign, next you'll be prompted to choose your recipients. The system detects dynamic content in the email and highlights the lists or segments you created targeted content for.
Select the highlighted lists or segments (and any other recipients you'd like to receive the campaign), then click Next to finalize your campaign for sending.
There's a second preview option on the campaign snapshot page. Click View a preview below the "Content" heading to display your campaign in a pop-up window. With this preview you can also toggle through each plain text version of your campaign.

